Spring Cloud - 注册中心、中央配置、网关
本文属于学习笔记,内容可能有误、可能不全面,仅代表个人在学习这一特性时的理解和总结
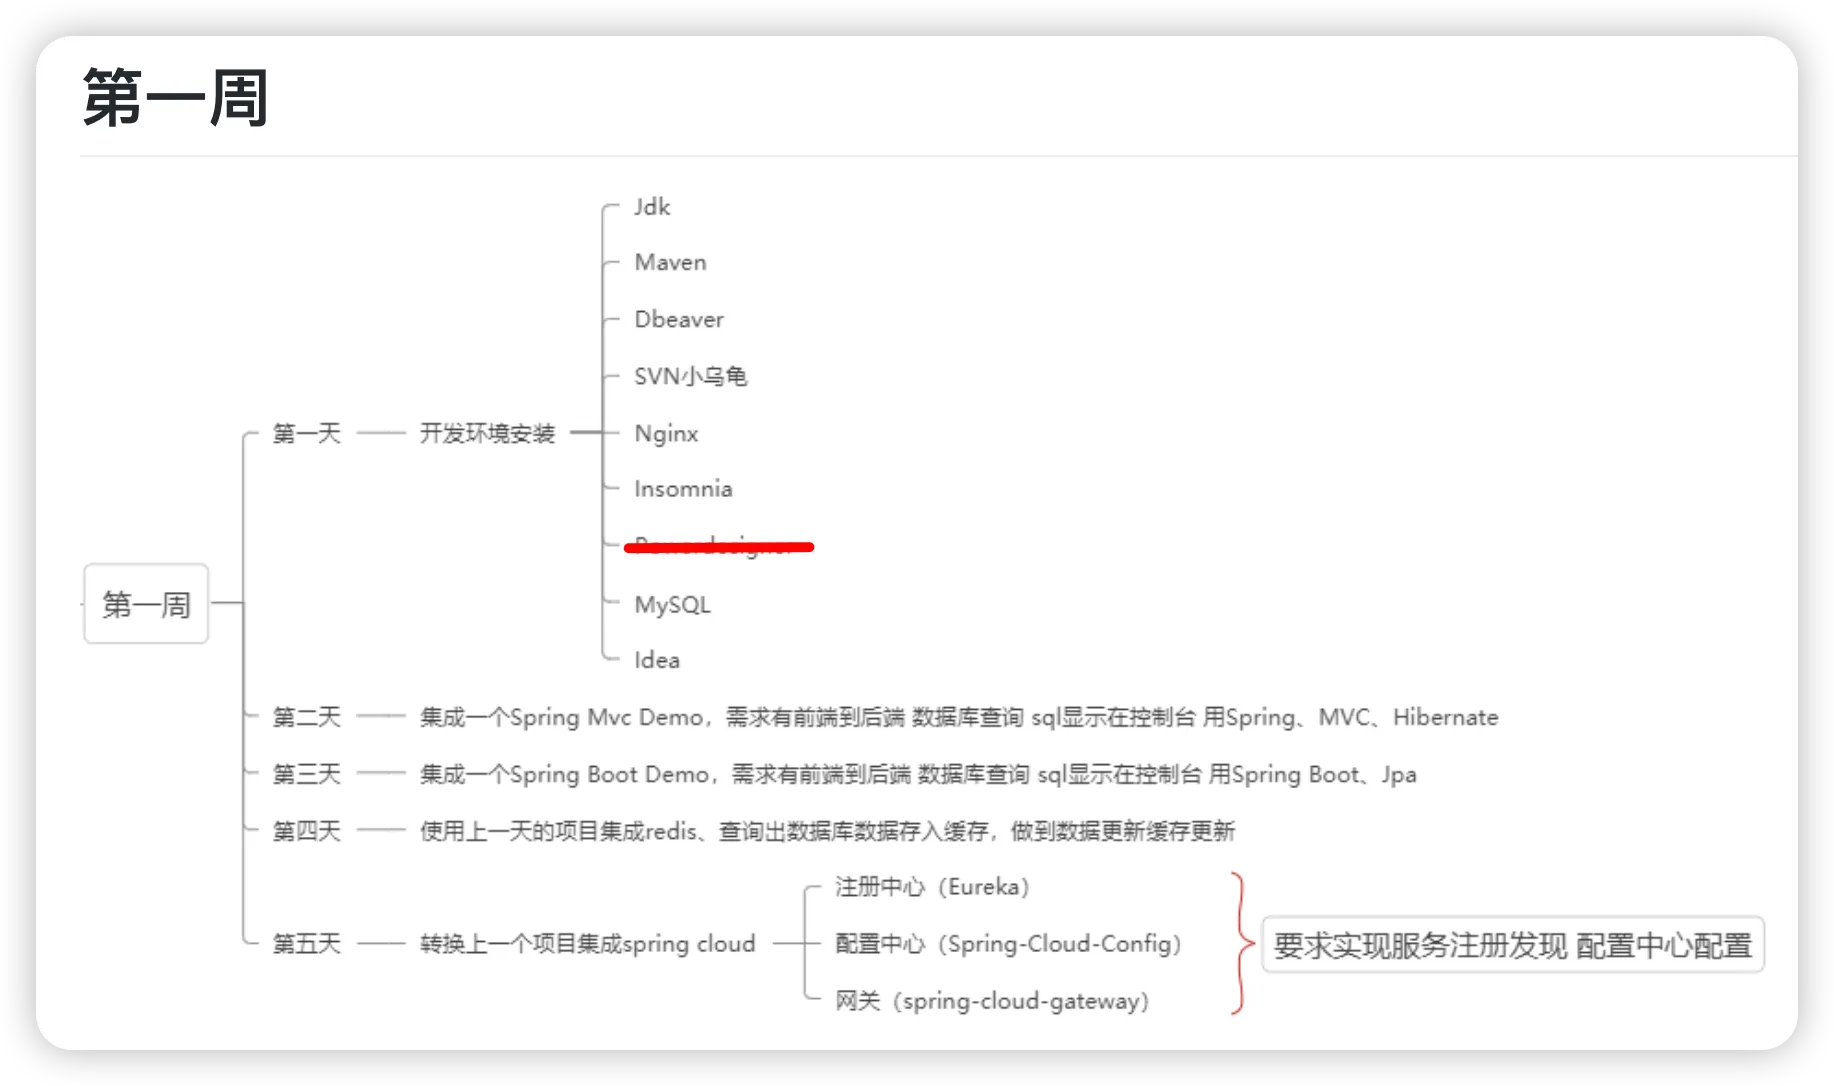
实习第一天,主要目的是学习云原生架构。今天先从 Spring Cloud 开始。
总的来说,Spring Boot 提供构建应用的基础,Spring Cloud 在此基础上提供了分布式系统和微服务架构所需的工具和支持。
1 注册中心(Eureka)
1.1 Eureka 名字由来
“Eureka”是希腊语,意思是“我发现了!”
源自经典的 阿基米德洗澡时发现浮力原理 小故事。
阿基米德在洗澡时发现了证明王冠是否纯金的方法(黄金密度),他激动地一边大喊“Eureka!”一边跳出澡盆奔去王宫,连衣服都忘了穿。后来人们用Eureka这个词来形容洞察浮现的瞬间。
1.2 网络架构
一个最简单的示例如下:

要记住这个架构是一个微服务架构,将各个功能的实现分布式地部署在多个服务器中。每一个微服务都是独立的Springboot App,分为以下三类:
- Eureka Server(注册中心)
- Eureka Client(服务提供者)
- Eureka Client(服务消费者)
1.2.1 注册中心
注册中心是一个中央服务器,其他微服务都知道注册中心的Url。
只需要增加配置,并在入口处增加 @EnableEurekaServer 注解。
server:
    port: 8761

eureka:
    client:
        register-with-eureka: false
        fetch-registry: false
    server:
enable-self-preservation: false@SpringBootApplication
@EnableEurekaServer
public class EurekaServerApplication {
public static void main(String[] args) {
SpringApplication.run(EurekaServerApplication.class, args);
}
}1.2.2 服务提供者
服务提供者实现了一部分的 REST 接口,即实现 Controller。在启动时会连接上注册中心,将他提供的接口注册到Eureka Server。可以有多个提供者提供相同的接口。
服务提供者在配置文件中设置实例名称,以及注册中心的Url
server:
  port: 8081

spring:
  application:
    name: provider-service

eureka:
  client:
    service-url:
      defaultZone: http://localhost:8761/eureka/
1.2.3 服务消费者
服务消费者的工作流程:
- 消费者发送请求
http://provider-service/hello。(这里的provider-service就是服务提供者设置的实例名称,hello是提供者已经实现的一个接口。) RestTemplate查询 Eureka 注册中心,获取provider-service的所有实例地址。- 负载均衡器选择一个实例,将请求路由到该实例。
代码实现是:
@RestController
public class ConsumerController {

    @Autowired
    private RestTemplate restTemplate;

    @GetMapping("/invoke")
    public String invokeProviderService() {
        return restTemplate.getForObject("http://provider-service/hello", String.class);
    }
}
在配置中设置 RestTemplate ,增加 @loadBalanced 负载均衡注解:
@Configuration
public class AppConfig {

    @Bean
    @LoadBalanced
    public RestTemplate restTemplate() {
        return new RestTemplate();
    }
}
RestTemplate的简化
RestTemplate是 Spring 提供的一个同步 HTTP 客户端,用于简化与 RESTful 服务的通信。它提供了多种便捷的方法,可以轻松地执行各种 HTTP 请求(如 GET、POST、PUT、DELETE 等)并处理响应。RestTemplate可以自动处理请求和响应的序列化和反序列化,使得与 REST API 的交互变得更加简洁和直观。
@LoadBalanced 注解是 Spring Cloud 实现的,会自动完成以下步骤:
- 服务发现:从 Eureka 注册中心获取指定服务的所有可用实例。
- 负载均衡:根据负载均衡策略(默认是轮询)选择一个实例。
- 请求转发:将请求转发到选择的实例。
如果不使用 @LoadBalance 注解,完整的 invoke 接口实现如下:
import cn.hutool.http.HttpUtil;
import org.springframework.beans.factory.annotation.Autowired;
import org.springframework.cloud.client.ServiceInstance;
import org.springframework.cloud.client.discovery.DiscoveryClient;
import org.springframework.web.bind.annotation.GetMapping;
import org.springframework.web.bind.annotation.RestController;

import java.util.List;
import java.util.Random;

@RestController
public class ConsumerController {

    @Autowired
    private DiscoveryClient discoveryClient;

    private final Random random = new Random();

    @GetMapping("/invoke")
    public String invokeProviderService() {
        // 获取 provider-service 的所有实例
        List<ServiceInstance> instances = discoveryClient.getInstances("provider-service");

        if (instances == null || instances.isEmpty()) {
            throw new IllegalStateException("No instances available for provider-service");
        }

        // 随机选择一个实例(简单的负载均衡策略)
        ServiceInstance selectedInstance = instances.get(random.nextInt(instances.size()));

        // 构造服务URL
        String url = selectedInstance.getUri().toString() + "/hello";

        // 使用 Hutool 发送 HTTP 请求
        return HttpUtil.get(url);
    }
}
2 中央配置(Spring Cloud Config)
原理差不多。中央配置与服务注册的逻辑是独立的,他们互不相关。
也分为 config-client 和 config-server.
配置文件参考网上其他教程。
我测试过程中遇到一个问题,client一直没有向 server 发送获取配置的请求。
原因:
pom.xml 中必须有以下配置(开始运行时获取配置)
        <dependency>
            <groupId>org.springframework.cloud</groupId>
            <artifactId>spring-cloud-starter-config</artifactId>
        </dependency>
并且不能有 server 的依赖:
        <dependency>
            <groupId>org.springframework.cloud</groupId>
            <artifactId>spring-cloud-config-server</artifactId>
        </dependency>
我就是在client的 pom.xml 里不小心赋值进去了 config-server 的依赖,导致一直没有获取配置。
另外,有两个设计思路:
- config-client 连接 config-server,自动获取 config-server 的注册中心
- 设置注册中心,获取注册中心里的 config-server
总之目的就是有一个统一的配置文件管理仓库,所有微服务启动时都能获取到最新的配置。
3 网关(Spring Cloud Gateway)
也是一个单独的应用。通过集成 Spring Cloud Gateway,可以在微服务架构中实现集中路由和过滤功能。
贴一下GPT的回答。
Spring Cloud Gateway 简介
Spring Cloud Gateway 是一种基于 Spring Framework 5、Spring Boot 2 和 Project Reactor 的 API 网关,旨在为微服务架构提供路由、过滤、监控和安全功能。与 Zuul 不同,Spring Cloud Gateway 使用非阻塞的 WebFlux 框架,这使得它在处理高并发请求时更加高效。
集成 Spring Cloud Gateway
1. 创建 Spring Cloud Gateway 项目
- 创建一个新的 Spring Boot 项目。
- 添加依赖:
在 pom.xml 中添加 Spring Cloud Gateway 和 Eureka Client 的依赖:
<dependencies>
    <dependency>
        <groupId>org.springframework.cloud</groupId>
        <artifactId>spring-cloud-starter-gateway</artifactId>
    </dependency>
    <dependency>
        <groupId>org.springframework.cloud</groupId>
        <artifactId>spring-cloud-starter-netflix-eureka-client</artifactId>
    </dependency>
    <dependency>
        <groupId>org.springframework.boot</groupId>
        <artifactId>spring-boot-starter-actuator</artifactId>
    </dependency>
</dependencies>
2. 配置 Gateway
在 src/main/resources/application.yml 中配置 Gateway:
server:
  port: 8080

spring:
  application:
    name: gateway

eureka:
  client:
    service-url:
      defaultZone: http://localhost:8761/eureka/

spring:
  cloud:
    gateway:
      routes:
        - id: provider-service
          uri: lb://provider-service
          predicates:
            - Path=/provider/**
          filters:
            - StripPrefix=1
        - id: consumer-service
          uri: lb://consumer-service
          predicates:
            - Path=/consumer/**
          filters:
            - StripPrefix=1
以上配置定义了两个路由:
/provider/**路径的请求将被转发到provider-service。/consumer/**路径的请求将被转发到consumer-service。
StripPrefix=1 表示在转发请求之前,将 URL 路径前缀 /provider 或 /consumer 去掉。
3. 启动类
在主类中添加 @SpringBootApplication 和 @EnableEurekaClient 注解:
@SpringBootApplication
@EnableEurekaClient
public class GatewayApplication {
    public static void main(String[] args) {
        SpringApplication.run(GatewayApplication.class, args);
    }
}
启动和测试
- 启动 Eureka Server。
- 启动 Config Server。
- 启动多个服务提供者实例。
- 启动服务消费者。
- 启动 Gateway。
测试 Gateway 路由
访问 Gateway 路由以测试:
-
测试服务提供者:
curl http://localhost:8080/provider/hello或在浏览器中访问:
http://localhost:8080/provider/hello -
测试服务消费者:
curl http://localhost:8080/consumer/invoke或在浏览器中访问:
http://localhost:8080/consumer/invoke
总结
通过集成 Spring Cloud Gateway,您可以在微服务架构中实现集中路由和过滤功能。它提供了强大的功能和灵活性,可以根据需要进行自定义和扩展。在上述配置中,我们实现了基本的服务路由,实际项目中可以根据需求增加更多的路由规则和过滤器。
总结
终于接触了微服务架构。初步了解了Spring Cloud的框架。总之就是进一步的分布,进一步的解耦。