实验方法
研究实验方法。
备忘
make -j8 geth && ./start-private-chain.shmake -j8 geth && REGULATORY_DISABLED=true ./start-private-chain.shcurl -X POST --data '{"jsonrpc":"2.0","method":"debug_setBalance","params":["0xE484608fA7639996d0F359f76f34DF9fe15f7F7B", "0x8ac7230489e80000"],"id":1}' -H "Content-Type: application/json" http://localhost:8545性能测试
SimpleCounter验证
1000次SimpleCounter合约,比对TPS。
没有监管:
=====================================
📍 合约地址: 0x3B2be2E566A5Ef56D24741967c410e4858c1c7D6
🎯 尝试操作数: 1000
✅ 成功操作数: 1000
❌ 失败操作数: 0
⏱️  总耗时: 65.22秒
📈 平均TPS: 15.33 交易/秒
✅ 验证通过: 计数值完全正确!
✅ 成功率: 100.0%
=====================================
有监管:
=====================================
📍 合约地址: 0xb02213DEF2A4577C6102126146101f012d0162da
🎯 尝试操作数: 1000
✅ 成功操作数: 1000
❌ 失败操作数: 0
⏱️  总耗时: 69.25秒
📈 平均TPS: 14.44 交易/秒
✅ 验证通过: 计数值完全正确!
✅ 成功率: 100.0%
=====================================
实验我就随机生成一个转账网络,标记一个账户为风险账户。执行所有转账交易后,看一下是否全部正确,再统计下时间/TPS,与没有监管的原版对比一下?
ERC-20转账验证
设计一个转账网络。
import random
import networkx as nx
import matplotlib.pyplot as plt
import matplotlib
import json
# 支持中文字体(可选)
matplotlib.rcParams['font.sans-serif'] = ['SimHei', 'Arial Unicode MS', 'Microsoft YaHei']
matplotlib.rcParams['axes.unicode_minus'] = False
# ---- 1. 设置随机种子 ----
SEED = 44
random.seed(SEED)
# ---- 2. 生成节点和随机边 ----
num_accounts = 300
accounts = [f"A{i+1}" for i in range(num_accounts)]
num_edges = 1000
edges = []
for _ in range(num_edges):
src, dst = random.sample(accounts, 2)
edges.append((src, dst))
# ---- 3. 构造有向图 ----
G = nx.DiGraph()
G.add_nodes_from(accounts)
G.add_edges_from(edges)
# ---- 4. 确保 A1 相关交易最先执行 ----
edges_from_A1 = [e for e in edges if e[0] == "A1"]
other_edges = [e for e in edges if e[0] != "A1"]
ordered_edges = edges_from_A1 + other_edges
# ---- 5. 顺序处理,计算风险传播 ----
max_risk = 10
node_risk = {node: 0 for node in accounts}
node_risk["A1"] = max_risk
risk_edges = set()
for src, dst in ordered_edges:
if node_risk[src] > 1:
new_risk = node_risk[src] - 1
if new_risk > node_risk[dst]:
node_risk[dst] = new_risk
risk_edges.add((src, dst))
# ---- 6. 保存为 JSON ----
output = {
"nodes": accounts,
"edges": ordered_edges,
"node_risk": node_risk,
}
with open("erc20_transfer_network_seq.json", "w") as f:
json.dump(output, f, indent=2)
# ---- 7. 分层布局 ----
layout_nodes = accounts.copy()
random.shuffle(layout_nodes)
layers = [layout_nodes[:10], layout_nodes[10:20], layout_nodes[20:]]
pos = nx.shell_layout(G, nlist=layers)
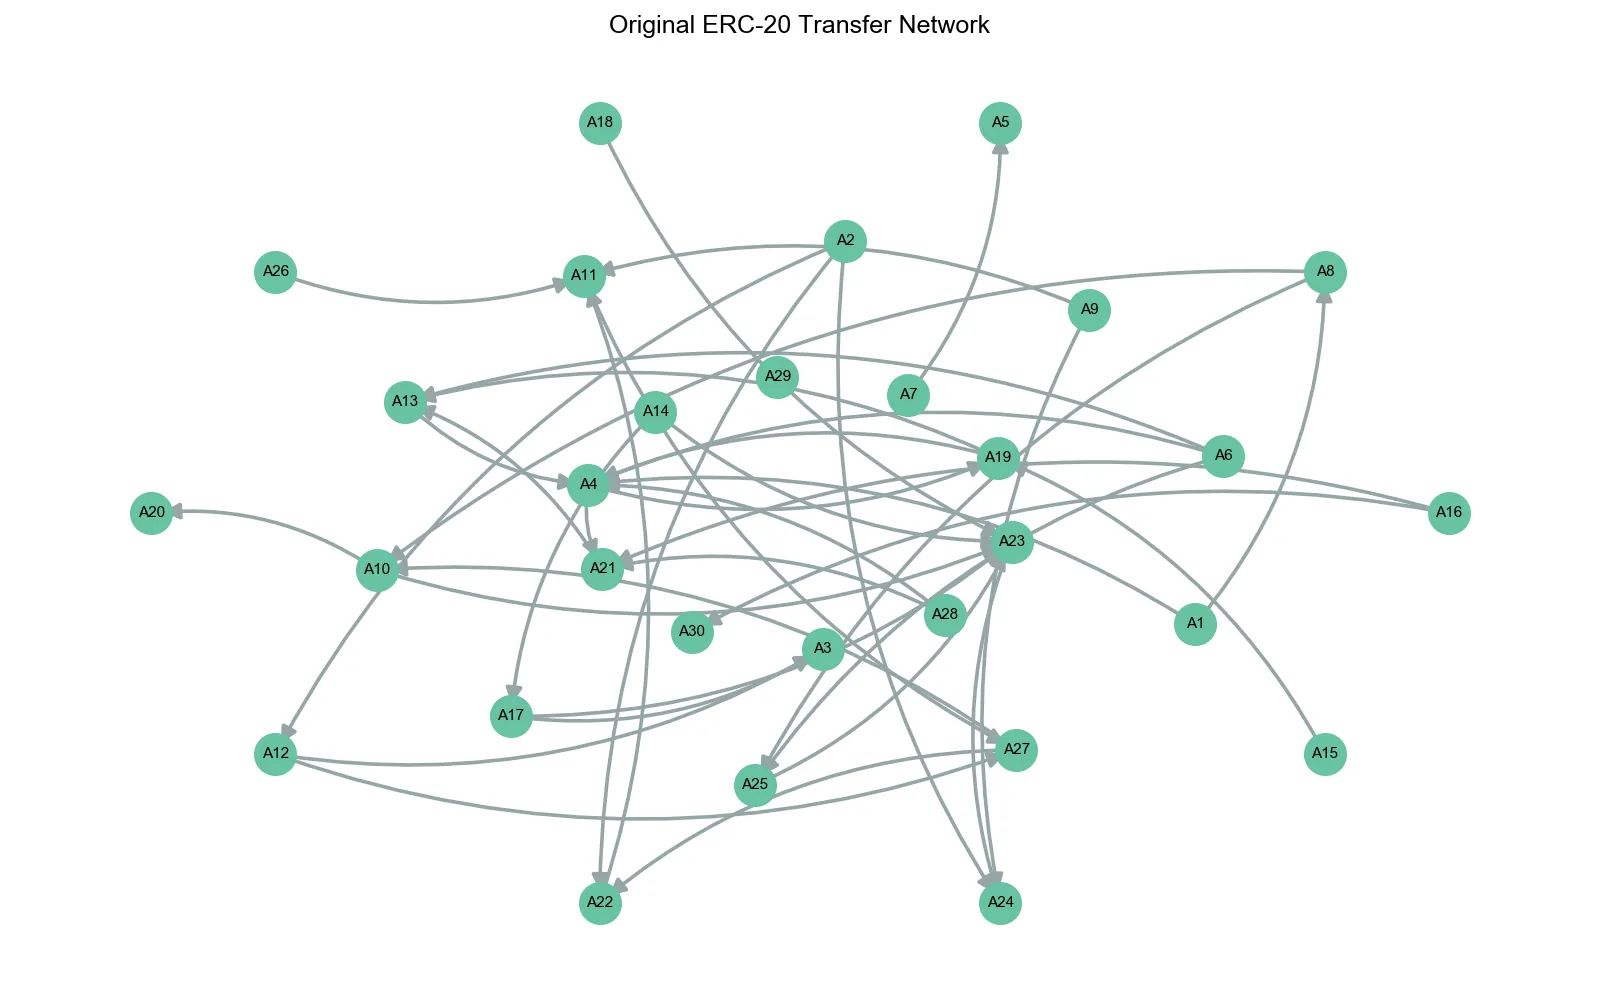
# ---- 8. 绘制原始网络 ----
plt.figure(figsize=(16, 10))
nx.draw_networkx_nodes(G, pos, node_size=900, node_color="#68c3a3")
nx.draw_networkx_labels(G, pos, font_size=11, font_weight='bold')
nx.draw_networkx_edges(G, pos,
arrowstyle='-|>', arrowsize=24,
edge_color='#95a5a6', width=2.6,
connectionstyle='arc3,rad=0.18')
plt.axis("off")
plt.title("Original ERC-20 Transfer Network", fontsize=18, fontweight='bold')
plt.tight_layout()
plt.show()
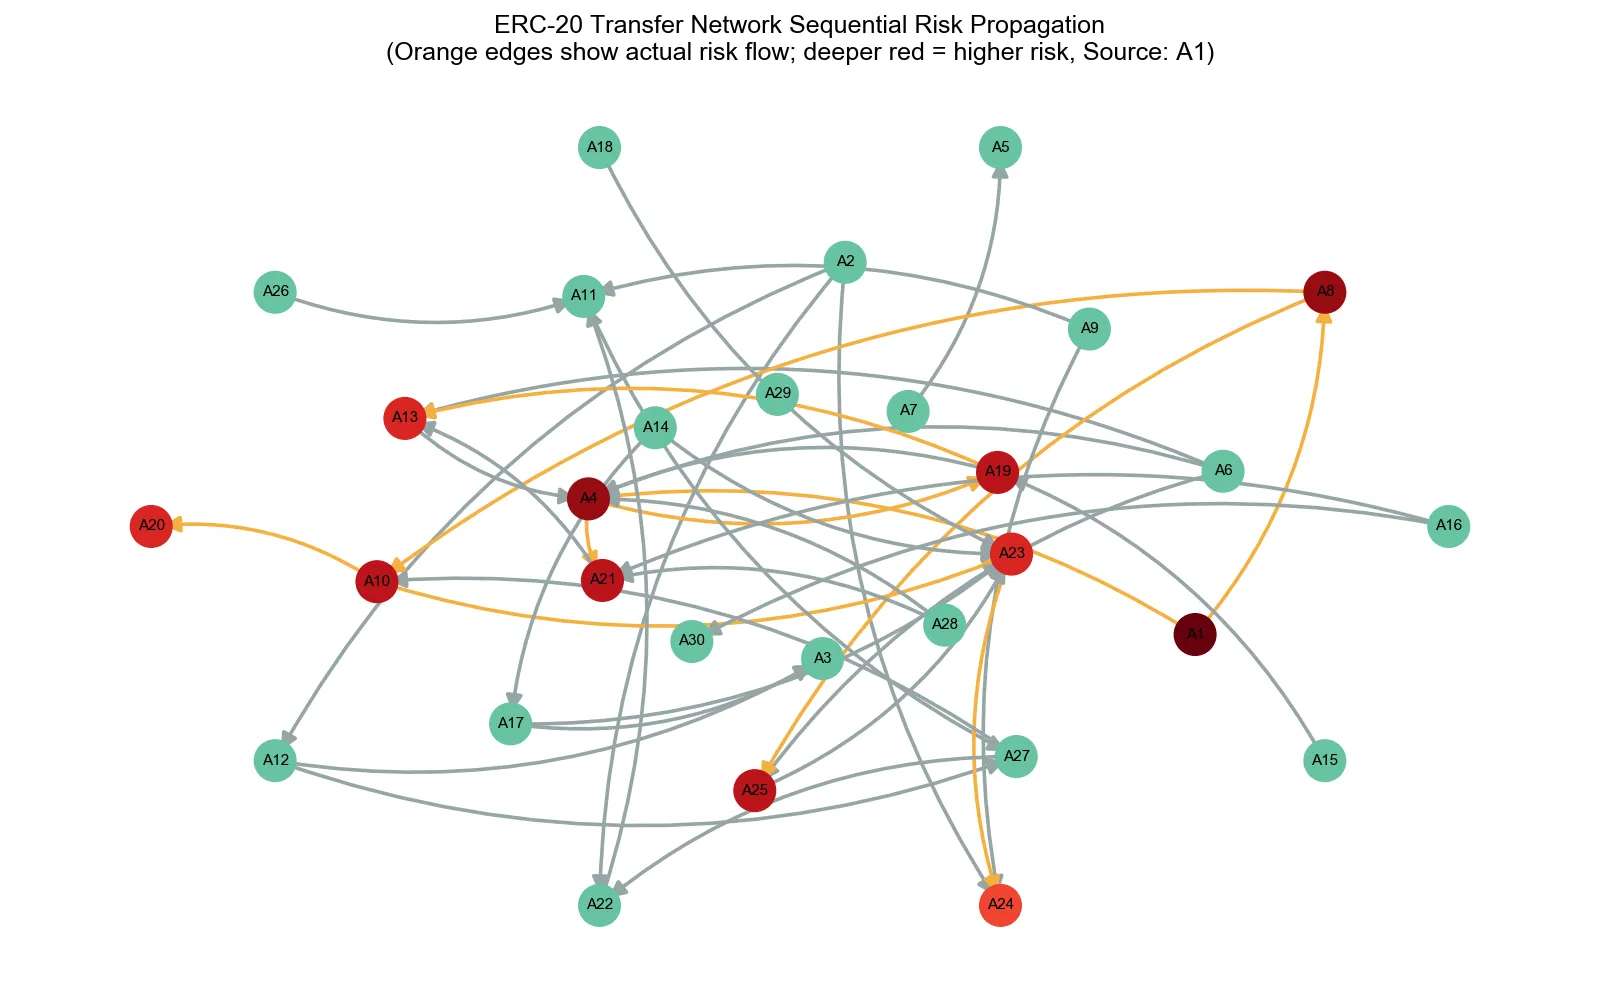
# ---- 9. 绘制按顺序传播风险后的网络 ----
cmap = plt.cm.Reds
node_colors = [
cmap(node_risk[n] / max_risk) if node_risk[n] > 0 else "#68c3a3"
for n in accounts
]
edge_colors = [
"#f5b041" if edge in risk_edges else "#95a5a6"
for edge in G.edges()
]
plt.figure(figsize=(16, 10))
nx.draw_networkx_nodes(G, pos, node_size=900, node_color=node_colors)
nx.draw_networkx_labels(G, pos, font_size=11, font_weight='bold')
nx.draw_networkx_edges(G, pos,
arrowstyle='-|>', arrowsize=24,
edge_color=edge_colors, width=2.6,
connectionstyle='arc3,rad=0.18')
plt.axis("off")
plt.title(
"ERC-20 Transfer Network Sequential Risk Propagation\n"
"(Orange edges show actual risk flow; deeper red = higher risk, Source: A1)",
fontsize=18, fontweight='bold'
)
plt.tight_layout()
plt.show() 效果图:
在目录ERC-RegulatoryTag中你可以看到RegulatoryContract和CompliantERC20Token两个合约。
RegulatoryContract是部署在以太坊上的监管合约,我们修改了geth的实现,所有交易都会被evm拦截,调用监管合约进行链上风险管理。合约地址是0x15bC1CE1Ef41D6B00D47693014BB3A8Bf83f4fc0
CompliantERC20Token是一个ERC20标准的代币合约,他在监管合约里注册了敏感函数,并被加入白名单(可以正常调用)。合约地址是0xedbF11C56a3fAE725c6db115b903734dd0336E01。
上述两个合约的owner都是0xE484608fA7639996d0F359f76f34DF9fe15f7F7B。.evn中的私钥就是该账户的。
下面我要写一个测试脚本,测试我们的监管合约能不能正确的进行风险传播,并计算时间、TPS,并与正常的geth对比性能。
我已经生成了一个风险传播网络的json,格式包括:
{
    "nodes": , // 所有节点账户,A1,A2,A3...
    "edges": , // 节点之间的交易
    "node_risk": ,// 交易之后每个账户的风险分数
}
整个测试脚本的流程如下:
- 生成nodes.length()个以太坊账户,与账户名称(A1,A2…)一一对应。
- 用0xE484608fA7639996d0F359f76f34DF9fe15f7F7B(owner)账户,给每个新账户mint 100个token。
- 根据edges里的交易,按顺序执行。统计交易执行的总时间、平均交易时间、吞吐率等等性能数据。
- 执行完所有交易,查询每个账户的风险分数。与node_risk里的结果对比,验证正确性。
同样的脚本我会在关闭监管的geth里再跑一次,进行对比。这部分我来做就行,你不用管。
有监管:
==================================================
📊 测试结果摘要
==================================================
🏗️  网络规模: 30 节点, 40 边
⚡ 性能指标:
   - 总交易数: 40
   - 成功交易: 40
   - 失败交易: 0
   - 平均交易时间: 90.40ms
   - TPS: 11.06
   - 平均Gas消耗: 35051
🎯 验证结果:
   - 总账户数: 30
   - 正确预测: 30
   - 错误预测: 0
   - 准确率: 100.00%
无监管:
==================================================
📊 测试结果摘要
==================================================
🏗️  网络规模: 30 节点, 40 边
⚡ 性能指标:
   - 总交易数: 40
   - 成功交易: 40
   - 失败交易: 0
   - 平均交易时间: 90.33ms
   - TPS: 11.07
   - 平均Gas消耗: 35055
🎯 验证结果:
   - 总账户数: 30
   - 正确预测: 20
   - 错误预测: 10
   - 准确率: 66.67%
更大规模的:
有监管:
==================================================
📊 测试结果摘要
==================================================
🏗️  网络规模: 300 节点, 1000 边
⚡ 性能指标:
   - 总交易数: 1000
   - 成功交易: 1000
   - 失败交易: 0
   - 平均交易时间: 102.67ms
   - TPS: 9.74
   - 平均Gas消耗: 35054
🎯 验证结果:
   - 总账户数: 300
   - 正确预测: 300
   - 错误预测: 0
   - 准确率: 100.00%
📄 测试报告已保存: /Users/cishoon/WorkPlace/ether/risk-propagation-test-report-2025-08-08T03-45-49-973Z.json
无监管:
==================================================
📊 测试结果摘要
==================================================
🏗️  网络规模: 300 节点, 1000 边
⚡ 性能指标:
   - 总交易数: 1000
   - 成功交易: 1000
   - 失败交易: 0
   - 平均交易时间: 99.56ms
   - TPS: 10.04
   - 平均Gas消耗: 35054
🎯 验证结果:
   - 总账户数: 300
   - 正确预测: 202
   - 错误预测: 98
   - 准确率: 67.33%
📄 测试报告已保存: /Users/cishoon/WorkPlace/ether/risk-propagation-test-report-2025-08-08T03-49-27-377Z.json